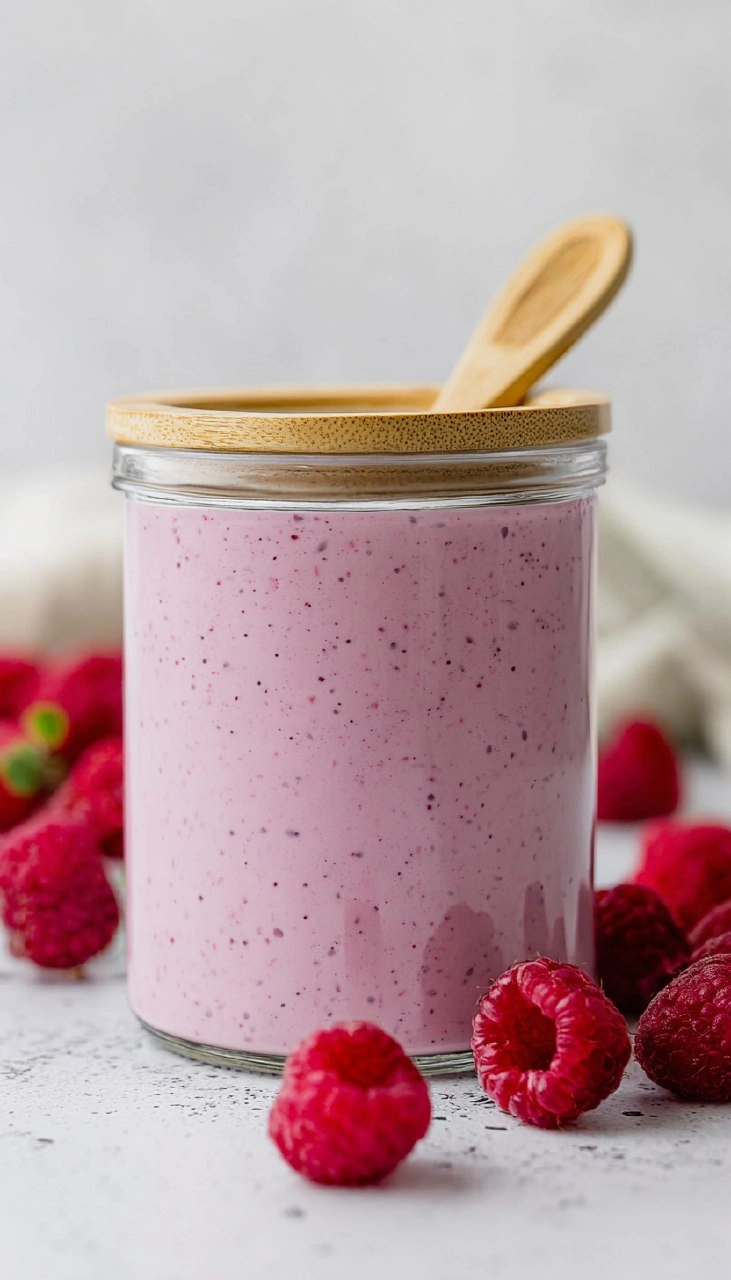
Red, White, and Blue Cake

There’s nothing quite like the cheerful vibe of a Red, White, and Blue Cake to make any gathering feel festive. The vibrant layers bring to mind sunny summer days, backyard barbecues, and even fireworks under the stars. Each slice promises a burst of flavor and a visual treat that draws you in. The combination of fluffy cake and rich frosting is as delightful in taste as it is in appearance, making it a standout at any celebration.
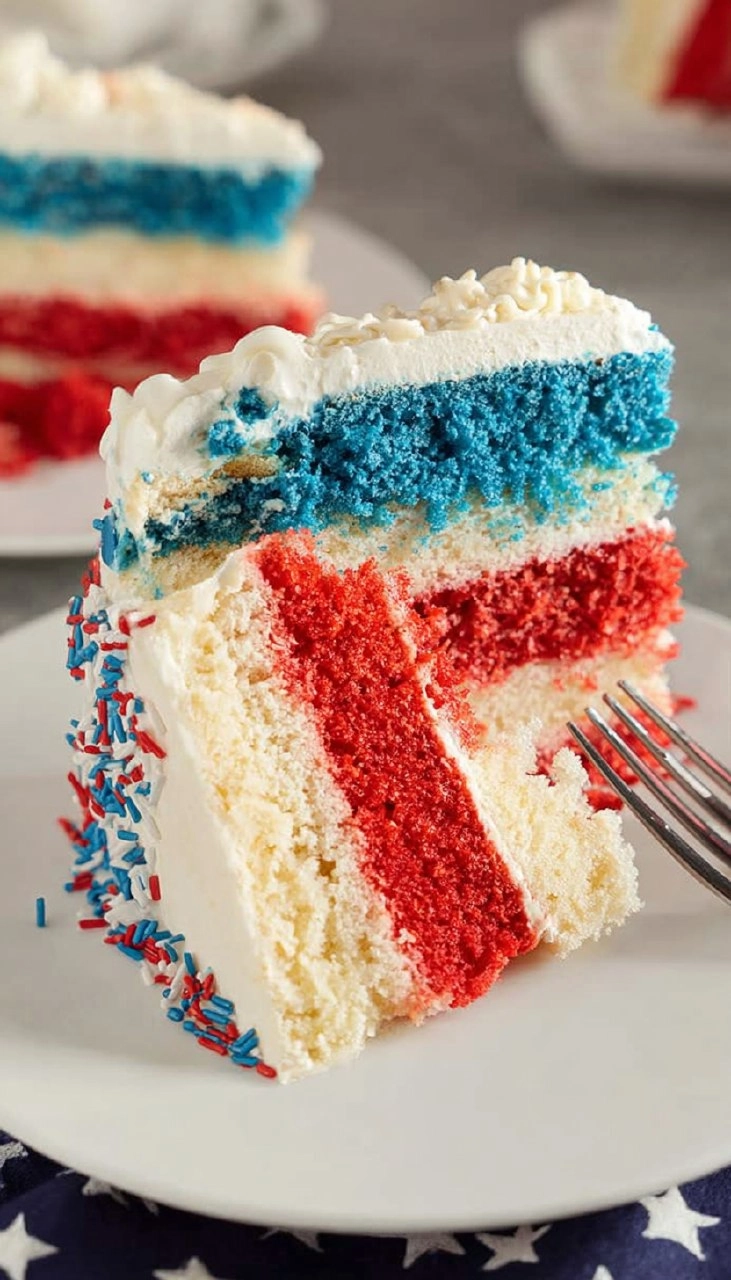
Whether you’re planning a Fourth of July bash, a birthday party, or just want to add a splash of patriotism to your dessert table, this cake shines. It’s surprisingly simple to make, using easy-to-find ingredients that you probably already have in your pantry. This isn’t just a cake; it’s a whole experience waiting to happen. Why not give it a whirl? You might fall in love, just like I did.
Table of Contents
- Why You’ll Love This Recipe
- Ingredients You’ll Need
- How to Make Red, White, and Blue Cake
- Storing & Reheating
- Chef’s Helpful Tips
- Recipe FAQs
- Red, White, and Blue Cake
Why You’ll Love This Recipe
- Simple & Quick: In about 45 minutes, you can create a show-stopping cake that everyone will talk about.
- Irresistible Flavor: Fluffy, moist layers paired with silky buttercream will have everyone coming back for more.
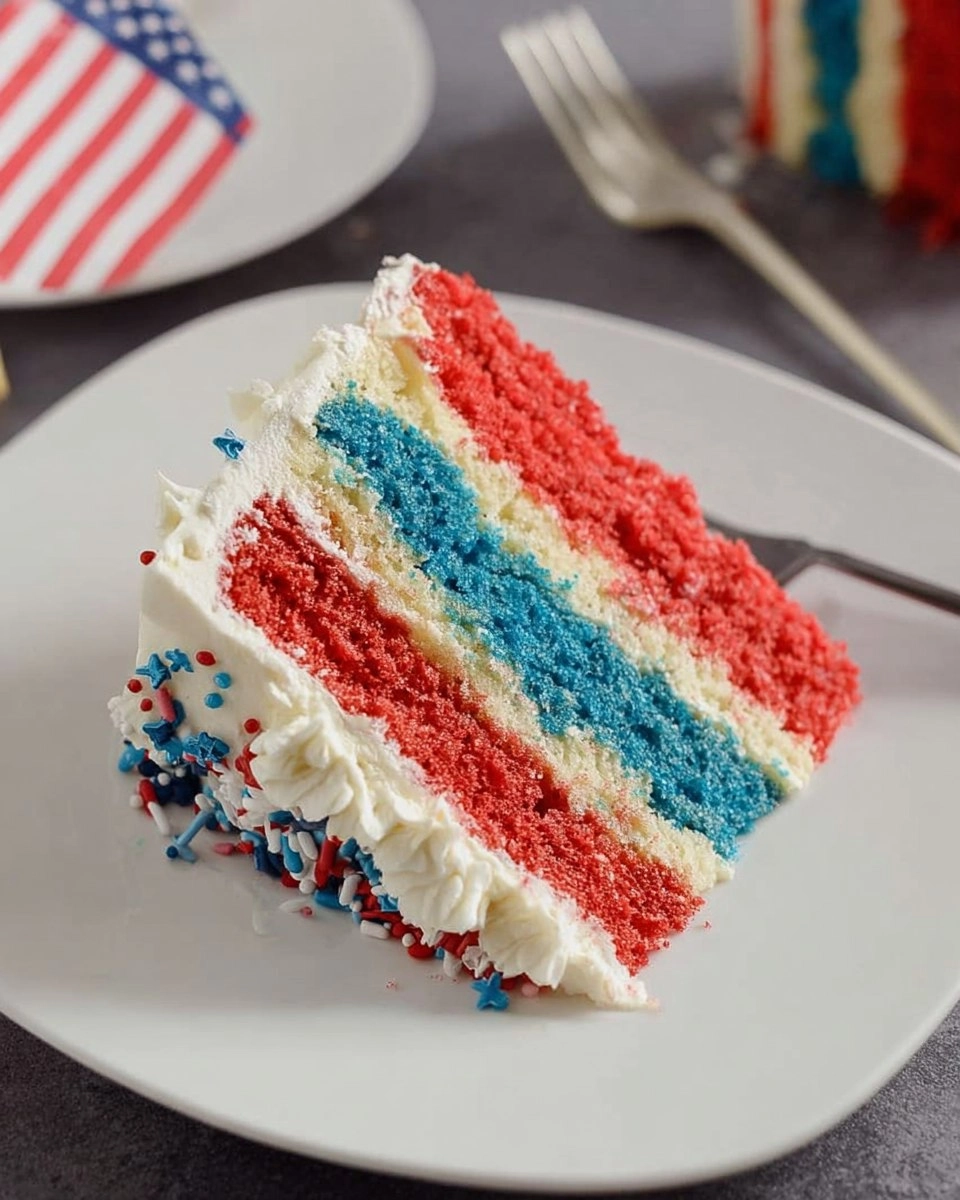
- Eye-Catching Appeal: The striking red, white, and blue layers are sure to impress your guests.
- Flexible Serving: Perfect for parties, BBQs, or even casual family gatherings—everyone will enjoy a slice!
- Diet-Friendly Options: Easily adapt for gluten-free or vegan diets with simple ingredient swaps.
Ingredients You’ll Need
- 3 cups all-purpose flour: This forms the base of our cake. Make sure to level off your measuring cup for accuracy.
- 2 teaspoons baking powder: This gives the cake a lift, creating a light and fluffy texture.
- 1 teaspoon baking soda: Works with the baking powder to ensure perfect rise.
- ½ teaspoon salt: Enhances the flavors; don’t skip it!
- 1 cup unsalted butter, room temperature: This adds rich flavor and moisture. Using room-temperature butter helps achieve that perfect creamy texture when mixed.
- 1 cup granulated sugar: Provides sweetness and structure for the cake.
- 4 egg whites, room temperature: Keep the yolks for another recipe! The whites create a light, airy cake.
- 2 teaspoons clear vanilla extract: Clear vanilla helps maintain the cake’s color while imparting that beloved vanilla flavor.
- 1 ½ cups buttermilk or whole milk: Buttermilk is ideal for a tender crumb; if you don’t have it, whole milk works too.
- Red and blue food gel coloring: A drop of each gives our cake its patriotic colors.
- 2 cups unsalted butter, room temperature (for frosting): This is crucial for a creamy, dreamy buttercream.
- 6-8 cups powdered sugar: Sweetens and stabilizes the frosting—add more for a thicker texture.
- 2 teaspoons vanilla extract: Flavor boost for our frosting.
- ¼ cup heavy whipping cream: Adds a nice lightness to the frosting texture.
- ½ teaspoon salt: Balance out the sweetness of the frosting.
- 1 cup red, white, and blue sprinkles: Because who doesn’t love sprinkles on a cake?
How to Make Red, White, and Blue Cake
- Preheat and Prep: Preheat your oven to 350°F. Grease three 8 or 9-inch cake pans with butter or shortening, then dust them with flour to prevent sticking.
- Mix Dry Ingredients: In a medium bowl, whisk together the 3 cups of all-purpose flour, 2 teaspoons baking powder, 1 teaspoon baking soda, and ½ teaspoon salt. This step ensures your dry ingredients are well combined.
- Cream Butter and Sugar: In a large bowl, cream together 1 cup of unsalted butter and 1 cup of granulated sugar using an electric hand mixer on medium speed until light and fluffy.
- Add Egg Whites and Vanilla: Incorporate the 4 egg whites and 2 teaspoons of clear vanilla extract. Beat on medium speed until fully mixed together.
- Combine Wet and Dry: Gradually add about a third of the dry ingredients to the butter mixture and beat on low speed until just combined. Add the rest of the dry ingredients along with 1 ½ cups of buttermilk. Fold together gently; aim for barely combined to keep it fluffy.
- Divide Batter: Split the batter evenly into three bowls. A digital scale helps ensure accuracy.
- Add Colors: To two of the bowls, add 1/8 teaspoon (or a drop) of red and blue gel food coloring respectively, stirring until well mixed.
- Pour into Pans: Pour the colored batters into the prepared cake tins. They can go into the oven for about 25 minutes or until a toothpick inserted comes out clean.
- Cooling Time: Once done, let the cakes rest on a cooling rack until they reach room temperature.
- Make the Frosting: While cooling, prepare the frosting. Use a large bowl to cream 2 cups of unsalted butter on medium speed for about three minutes or until it’s smooth.
- Add Powdered Sugar: Gradually mix in 6–8 cups of powdered sugar until you achieve a thick, stiff frosting.
- Incorporate Flavor: Add 2 teaspoons of vanilla extract, ½ teaspoon of salt, and ¼ cup of heavy whipping cream. Beat until fully combined.
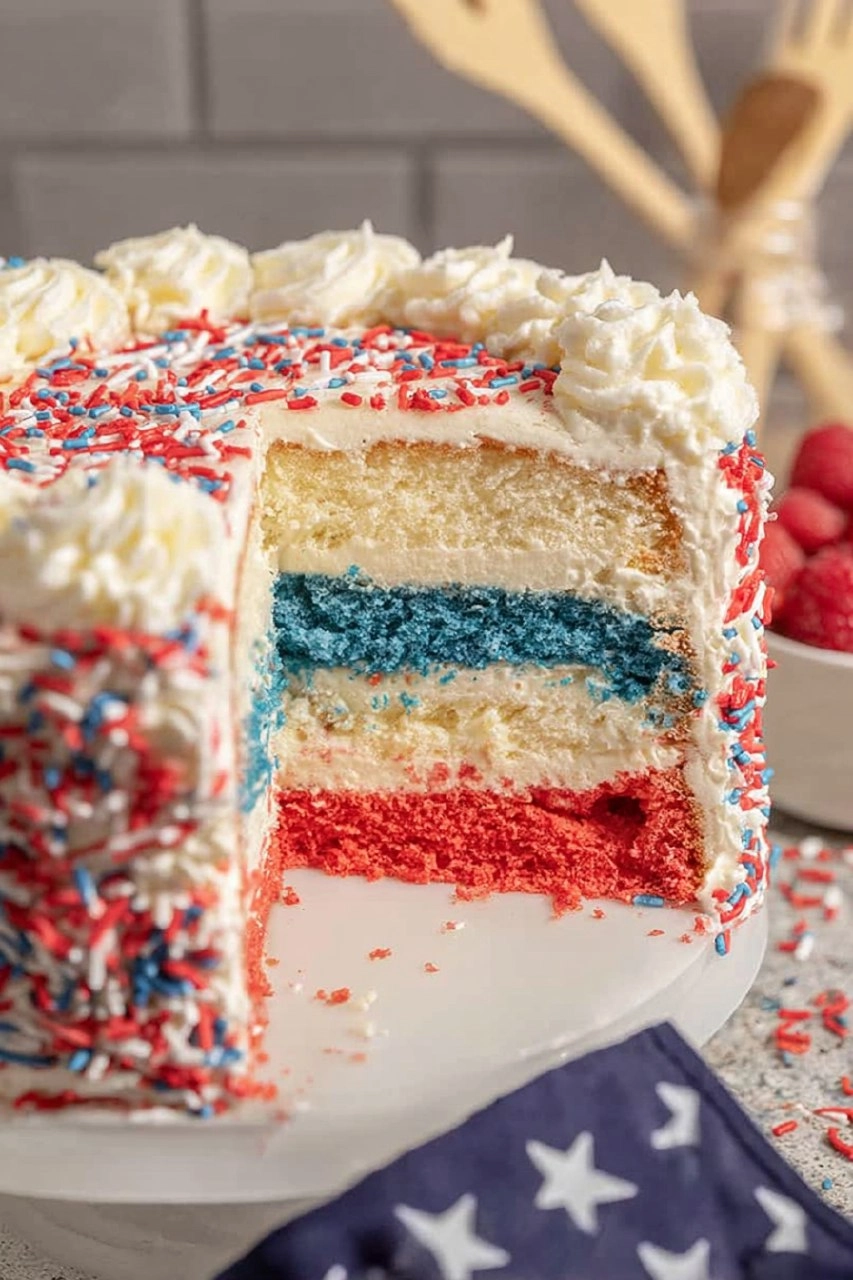
- Layer with Frosting: Load the frosting into a piping bag with a large round tip. Start with the blue layer on a platter, pipe a ring of frosting around the top, and spread evenly. Repeat this with the white and then red layers.
- Crumb Coat: After frosting the top red layer, apply a thin layer around the edges for a crumb coat. Refrigerate the cake for 20-30 minutes until the crumb coat sets.
- Final Frosting: Spread a thicker layer of frosting around the edges and pipe decorative swirls on top using a star piping tip.
- Sprinkle Time: Press sprinkles along the bottom edges and sprinkle the remaining on top for a festive look.
- Serve: Slice and enjoy your beautiful creation at room temperature!
Storing & Reheating
To keep your Red, White, and Blue Cake fresh, store it at room temperature for up to two days in an airtight container. If you need to refrigerate, use a container with a good seal for up to a week. It also freezes well! Just wrap it tightly in plastic wrap or aluminum foil and store for up to three months. To refresh after freezing, gently thaw in the refrigerator, then let it come to room temperature before serving to ensure the best texture and flavor.
Chef’s Helpful Tips
- Always cream butter and sugar thoroughly; it helps incorporate air for a fluffier cake.
- Ensure all baked goods are at room temperature for better incorporation.
- Use gel food coloring instead of liquid for vibrant, true colors without adding extra moisture.
- If your cake layers dome in the center, trim them flat for easier stacking and frosting.
- Don’t rush your crumb coat; it keeps those pesky crumbs locked in place for a smooth final look.
- Make the cake ahead of time; it tastes even better the next day!
The Red, White, and Blue Cake is not only a visual delight but also a culinary masterpiece, allowing for creativity and seasonal celebration all rolled into one sweet package. Each slice reveals layers of flavor that are as memorable as they are delicious. Embrace the joy of baking, and don’t hesitate to swap in your favorite ingredients that make it your own. Enjoy the experience and the smiles that come with sharing it!
Recipe FAQs
How can I make this cake gluten-free?
Can I make this cake in advance?
What if my frosting is too thick?
What are some alternative decorations for the cake?
More Desserts & Appetizers Recipes
- Red, White and Blue Cheesecake Salad
- Unicorn Dessert Cups
- Flag Cake
- Berry Chantilly Cake with Mascarpone Frosting
- Blueberry Coffee Cake
👉 If you make my Red, White, and Blue Cake recipe, please leave a comment and a star rating — it really helps others discover the recipe.
Follow me on
Pinterest
for more easy recipes.
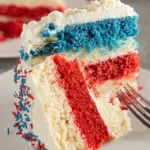
Red, White, and Blue Cake
- Prep Time: 45 minutes
- Cook Time: 25 minutes
- Total Time: 1 hour 10 minutes
- Yield: 16 servings 1x
- Category: Desserts & Appetizers
- Method: Baking
- Cuisine: American
Description
This vibrant Red, White, and Blue Cake is not only visually appealing but also offers a deliciously fluffy texture with a rich buttercream frosting. It’s perfect for any occasion where you want to impress with your baking skills.
Ingredients
- 3 cups all-purpose flour plus extra for dusting cake pans
- 2 teaspoons baking powder
- 1 teaspoon baking soda
- ½ teaspoon salt
- 1 cup unsalted butter, room temperature
- 1 cup granulated sugar
- 4 egg whites, room temperature
- 2 teaspoons clear vanilla extract
- 1 ½ cups buttermilk or whole milk
- 1 drop red food gel coloring
- 1 drop blue food gel coloring
- 2 cups unsalted butter, room temperature
- 6-8 cups powdered sugar
- 2 teaspoons vanilla extract
- ¼ cup heavy whipping cream
- ½ teaspoon salt
- 1 cup red, white and blue sprinkles
Instructions
- Preheat the oven to 350°F. Grease three 8 or 9 inch cake pans with butter or shortening and dust with flour. Set aside.
- In a medium bowl, whisk together flour, baking powder, baking soda, and salt until combined.
- In a large bowl, cream the butter and sugar using an electric mixer on medium speed until light and fluffy.
- Add the egg whites and vanilla extract, continuing to mix until well combined.
- Gradually add about a third of the dry mixture to the wet mixture and beat on low speed until just combined.
- Add the remaining dry ingredients and buttermilk, folding together until barely mixed.
- Divide the batter evenly into three bowls. For precise measurement, a digital scale can be useful.
- Stir in a drop of red gel food coloring to one bowl and a drop of blue gel food coloring to another, mixing well.
- Pour each colored batter into the prepared cake pans. Bake for 25 minutes or until a toothpick inserted in the center comes out clean.
- Let cakes cool on a rack until they reach room temperature.
Notes
Make sure the butter is at room temperature for better creaming with the sugar.
For a richer flavor, consider using buttermilk instead of whole milk.
You can adjust the amount of food coloring to achieve your desired vibrance.
Nutrition
- Serving Size: 1 slice
- Calories: 360
- Sugar: 40g
- Sodium: 190mg
- Fat: 14g
- Saturated Fat: 8g
- Unsaturated Fat: 5g
- Trans Fat: 0g
- Carbohydrates: 57g
- Fiber: 0g
- Protein: 3g
- Cholesterol: 40mg